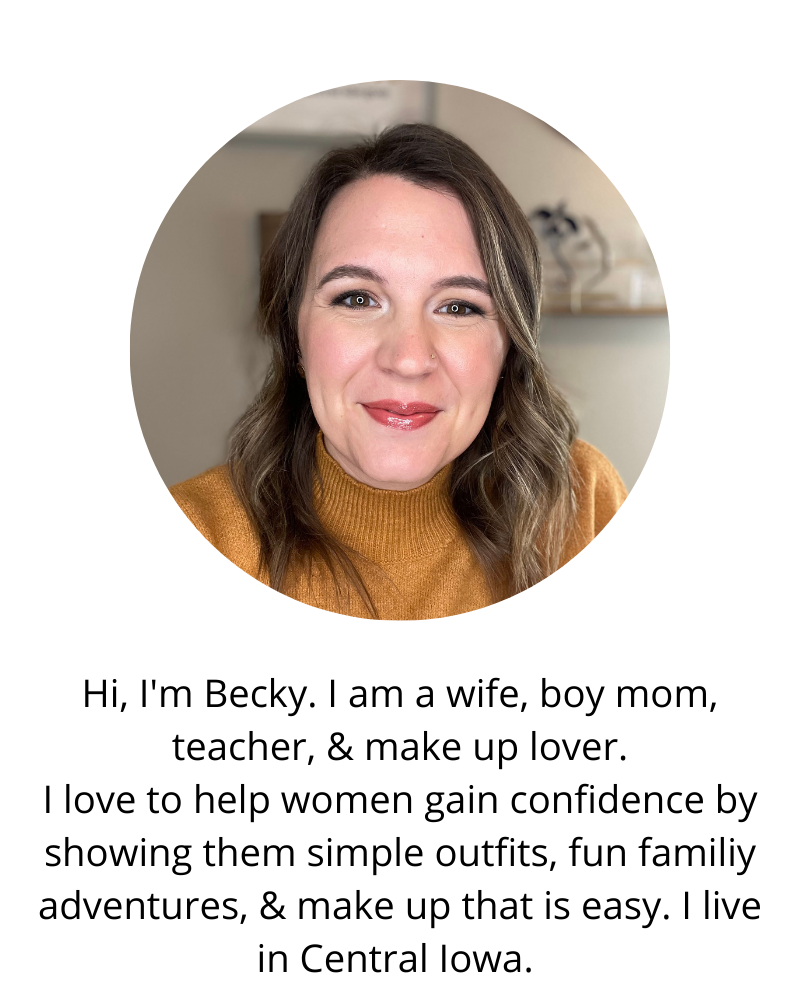
bybmg: Quick Cube Recover

Quick Cube Recover

/
0 Comments


First, you're probably wondering...will this yellow chevron fabric ever go away? I've done so. many. projects. with it. I'm nearing the end...but there's still enough left for a project or two! ;)

We got this green cube storage a few years back for the living room. It was about $15 at Target. It matched out furniture and was wonderful. Then sippy cups that leak a little came into the game. It got spilled on too many time and I just couldn't keep up.  Nasty!


I bought a new one for the living room, but I just couldn't throw this one away. I thought it'd be great storage for Henry's room. So, less than an hour of work, and it was recovered! I'll admit I was going more for the speed factor than making it look perfect, so the insides don't look that great. Does Henry care? Not a bit! Will it probably get spilled on again. Yep. I just needed to make it less of an eye sore for myself.

Here's how I did it. All I used was fabric, a hot glue gun, needle and thread.


I cut the fabric about 2 inches wider on each side than the cube.


I got out the trusty hot glue gun.


I glued the fabric to the side of the cube.


I then wrapped the fabric around and stitched it together. It BARELY fit around. I used thread instead of hot glue on this step because I wanted it to be very secure.


Then I went to the bottom and folded the fabric over so that if it frayed, it wouldn't get all over.


I then hot glued it all the way around. I figured hot glue would work well on this part because the fabric was already secure around the cube by stitching up the side, and hot glue is faster than sewing!


I folded it the same way on the top/inside of the cube and hot glued again.

For the lid, I just cut a square of fabric about 2-3 inches longer than the top all around. 


I wrapped it around and hot glued some spots


Then I stitched the corners so they were snug.


The bottom of the lid does not look pretty, but I was getting to the point that the baby might wake and Henry wanted to play, so I just wanted to get done! Besides, no one will see the bottom of the lid anyway...


This is the view of the side seam. You can tell it's there, but it doesn't look too bad.


This is the other side. I think it looks great!


Henry agreed and already started filling it with his treasures.


Now it's in his room. His bed is on risers so I can store things under it, so it will be a nice replacement for the ugly step stool I had in there. (Don't mind the Amazon box...Henry's just storing his preschool backpack in the box it came in because that's how he rolls. :))


No comments:

Impact-Site-Verification: 574454573. Powered by Blogger.